Enter Form Data in Mentor EDC
The Mentor EDC system has several options available for entering data into a form.
This article describes the available controls that may display within your study.
Remember: To view the controls within your study, navigate to a form.
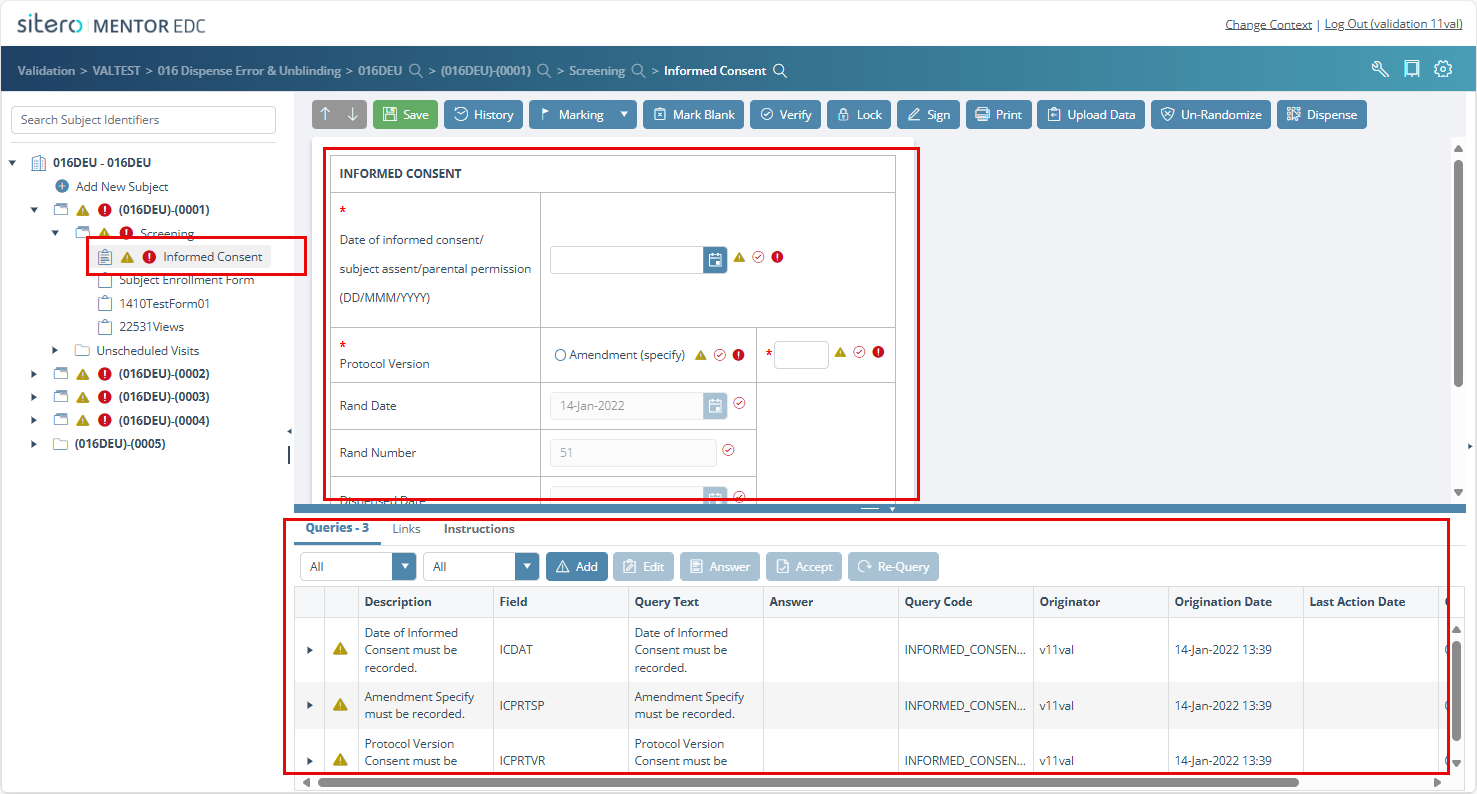
Notice that the screen contains three (3) sections:
- Form selection from the Navigation Tree panel on the left side
- Form Data in the top tile of the main screen
- Form Detail (and Audit Trail) in the bottom tile of the main screen
Remember: A red asterisk (*) displays next to a required field when your system is configured to use the “required wizard rule on a field”.
Required Fields
Some form fields are required, meaning that information must be populated before you can save your changes/continue.
All fields with an asterisk (*) are required.


Text Fields
A text field allows you to type text into a box that allows a specified number of characters.
To type text into a text box, click in the text field or press the [TAB] key until the cursor displays in the box. Once the cursor is in the box, begin typing. Pressing the Tab key (on your keyboard) moves you to the next field.
In text fields with multiple lines, the data automatically “wraps” inside the text box. If you wish to enter a carriage return, press the [ENTER] key on your keyboard to move to the next line.

Date Fields
Enter dates in a date field using the keyboard, Today button or calendar button.
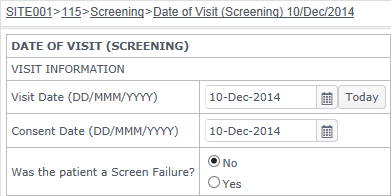
To enter the date using the keyboard, click in the date field and type the date you wish to enter.
NOTE: For date format, enter 2-digit number for day of month (DD), first 3 letters of month (MMM), and 4-digit year (YYYY).
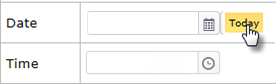
To select the current date, click the Today button and the current date (based on the computer/device internal setting) populates.
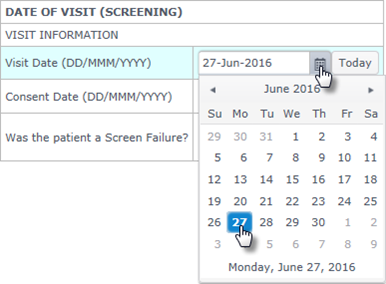
To use the calendar tool, follow the steps below.
- Click on the calendar button on the right side of the date field.
- Use the drop down menus and left / right arrow buttons to navigate to the month and year.
- Click to select a date on the calendar.
Time Fields
The Time field allows you to enter the time of an event using using the keyboard, clicking the clock icon to select a time, or use the Now button.
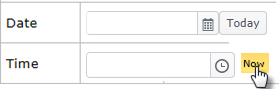
To select the current time (based on the computer/device internal setting), click the Now button.
To enter the time, click on the time field or navigate to the time field by pressing the [TAB] key on your keyboard until the cursor displays in the box. Once the cursor is in the box, begin typing in the desired time.
Depending on your study, you may be required to enter the time in 24-hour format. For example, to enter 3:00 PM, you type in 15:00.

One-Click Insert Date and/or Time Controls
Depending on the form setup, a Today button (use to insert current date) or a Now button (use to insert current time) may display next to the date and time fields. Use these buttons to insert the current date or time (based on the computer/device internal clock) with the click of a button.
To insert the current date into a date field, click on the Today button.
To insert the current time into a time field, click on the Now button.
Radio Buttons and Option Sets
Radio buttons, also referred to as Option Sets, allow you to select choices that are mutually exclusive, meaning you may only select one of the options.
In this case, if you click on another option within that set of answers, the original selection is deselected. Depending on your study, you may be able to select more than one answer within an Option Set.
To select the appropriate answer, click on the desired radio button/option.
Remember: If you would like to leave a set of options blank, but you have already selected one of the answers, remove the selection by highlighting the selected option and pressing the [DELETE] key on your keyboard.

Check Boxes
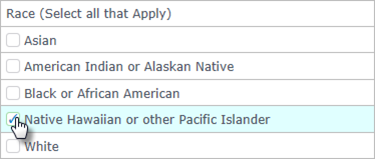
Use check boxes when you need to select more than one option.
Check Boxes are “checked” by clicking in the check box or by tabbing to the field and then pressing
the [SPACE] bar (on keyboard).
To “uncheck” the box, either click the check box or tab to the field and press the [SPACE] bar (on keyboard).
Drop-down Boxes/Combo Boxes
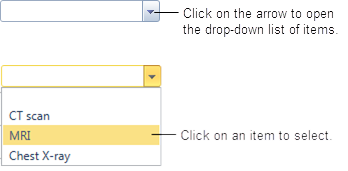
A Drop-down menu, (sometimes referred to as a Combo Box), is a field with a list of values from which to choose.
By clicking on the drop-down arrow to the right of the control, you reveal the available items for selection. To select an item from the list, click on that item (limit 1).
By typing in a letter while in the drop-down menu, the list automatically goes to the first word that begins with that letter.
Remember: The first item in the list is always a blank line. If you would like to clear your selection, click on the blank line in the drop-down list.
Numeric Textbox
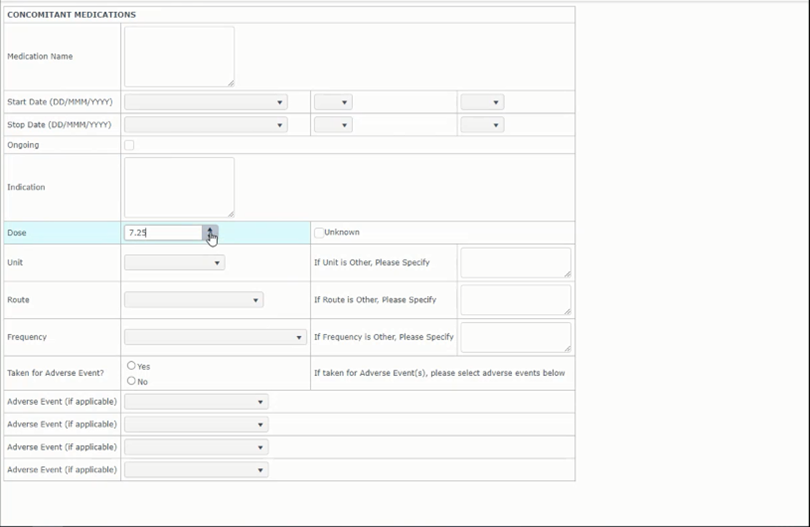
When a data entry field is configured to use a Numeric Textbox, you may enter a number into a field that is within a pre-defined range. When configured for your environment, this option may be accessed in the EDC End User System and the Kiosk.
Use this option to enter precise data for the field. The Min/Max Values, Increment, and number of Decimal Places is defined per your study protocol. A placeholder displays information (if configured) about the numeric format setting.
E.g., “Value = 0-10.”
When an increment is defined for your study, you may click the up or down arrows ( ) to increase the value by the defined increment (e.g., if increment is set to 0.25, each click will add or subtract that value).
- A value cannot be entered/selected in EDC that is lower than the low value set
- A value cannot be entered/selected in EDC that is higher than the high value set
- The values entered also display in Exports, Data Listings, and IPPs.
Scale Control Tool
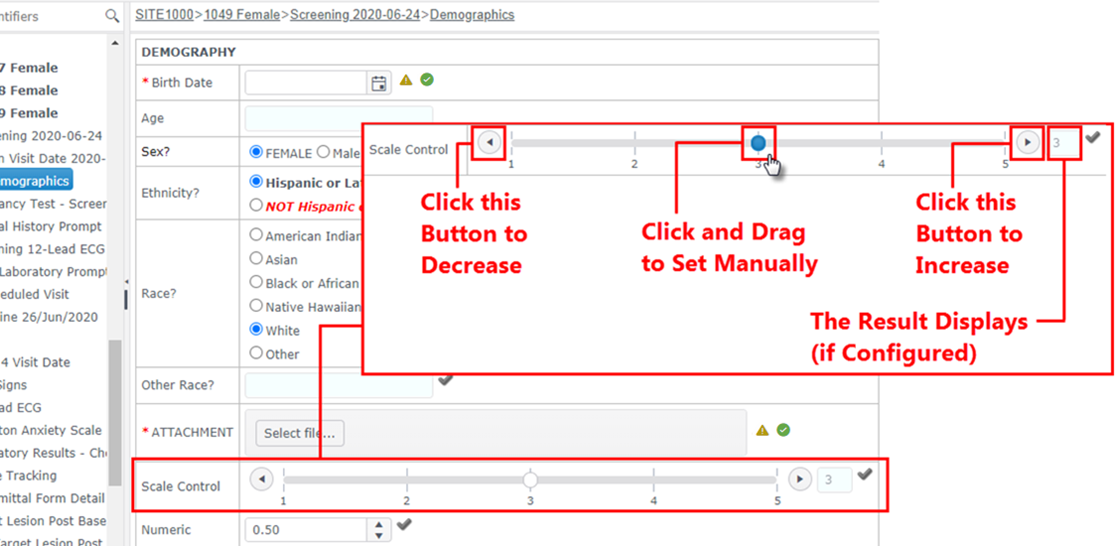
When a data entry field is configured to use the Scale Control tool, you may click and drag to set the value or use the buttons to increase or decrease the value.
When configured for your environment, this option may be accessed in the EDC End User System and the Kiosk.
- An EDC user can view increment values (tick marks/numbers) or text associated with a value (e.g., high, low) on the scale (when configured).
- An EDC user can see the score in a separate field (when configured).
- The values entered also display in Exports, Data Listings, and IPPs.