Search The Knowledge Base
Site Verification Overrides – Targeted and Risked Based Verification in Mentor EDC
Select the Site, open the Tools menu, and click the Site Verification Overrides button to initiate the process to set override for the percentage of verification required for a Site. This option displays ONLY when your permissions in this system include access.
Scroll down for details about how to Mark a Subject, Form, or all Forms in a Folder as Must Verify.
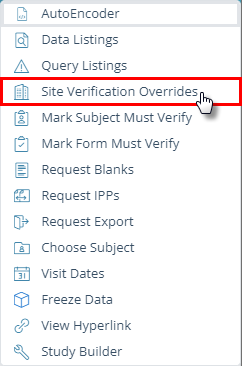
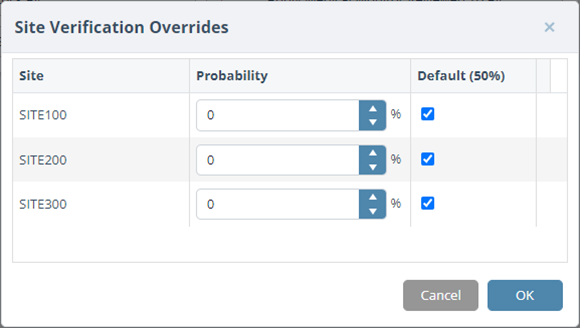
- The Site Verification Overrides utility overrides the percentage of verification required for a Site.
- The level of Source Document Verification (SDV) per site displays as a percentage of the total available CRFs at the site that require verification.
- Selecting the Site Verification Overrides utility generates a dialog box that allows you to change the percentage of CRFs that require verification at this site, by entering a new number and selecting the radio button next to the entered number.
- Remember: On initial save, each form has the same chance of being marked SDV based on the configured percentage. A form configured as “Always must Verify” or “Never must Verify” will override the percentage information noted above.
Follow the steps below to modify the percentages of SDV for a Site.
- Click on the Site Verification Overrides button.
- The Site Verification Overrides dialog box displays.
- Enter information in the Probability column for any or all rows.
- Click the check box to select the Default setting for any or all rows, as applicable.
- Click the OK button to save the new override percentage for the site.


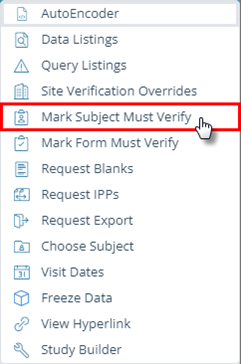
Mark Subject Must Verify
Select a Subject record, then open the Tools menu and click the Mark Subject Must Verify button to require verification.
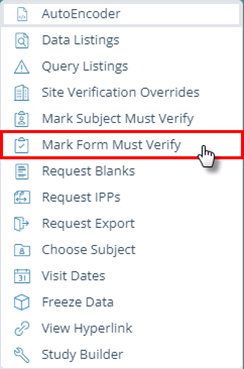
Mark Form Must Verify
Select a Form, then open the Tools menu and click the Mark Form Must Verify button to require verification.
Verify All Forms within a Folder
To verify all forms within a folder, follow the steps below.
- Click to select a folder in the navigation tree.
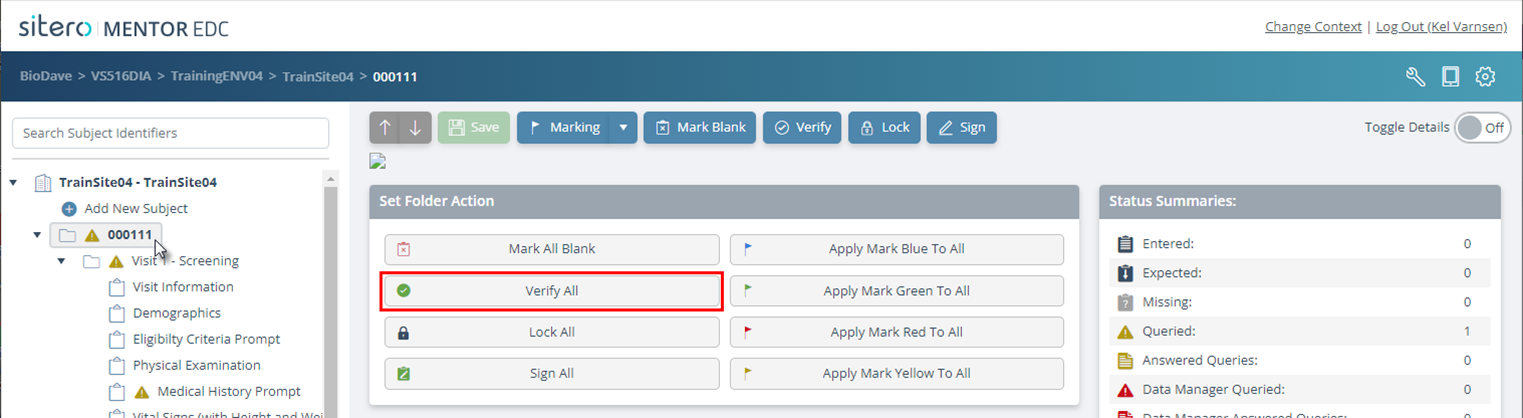
- Click the Verify All button in the Main screen.
- A dialog box prompts you to confirm this action. Additional selection options may display.
- After you make your selections and click the OK button, the verification icon displays next to that visit folder on the navigation tree as well as any forms verified.
- This action also adds a record to the Journal tab on each form stating that status is set at the folder level.
Remember: You must have “Verification” permission in order to verify a form. - If you do not have the appropriate permissions, the Verify button is disabled.
- Remember: only forms with an audit trail are marked verified.