Site Management in Mentor Payments
Site Entry is the process of attributing site numbers to vendors so that the system may correctly attribute data in the electronic data capture (EDC) system to the appropriate vendors and calculate payment accordingly.
Sites must be entered before they can be added to contracts.
The information below provides an overview of the process for manually creating a site and inviting and adding a site to a study. The recommended process is to import sites, but the process for manually creating a site is detailed in this section for times when importing sites and vendors isn’t practical.
In general, most actions relating to sites (and not vendors) are located on the Study Sites screen.
Log in to the system.
Navigate to Manage > Sites > Study Sites
Remember: Sites are Study specific, but Vendors are not Study specific. If a Site is created on the wrong Study, contact the Support Center at support@Sitero.com for assistance. If the Site has not been used on a contract, it may be possible to remove it.
Create a Site
For sites to be available to be added to a contract, the site must be created in the system.
To create a site in the system, the vendor must first be marked as a study location at the time of creation or have a study location created. The study location must be invited to the study.
Once invited, the principal investigator may be selected, and a site number added to complete the site creation process.
The steps for inviting a study location and creating a site are as follows:
- Log in to the system. If required, switch to the appropriate subcompany. Use the vertical green line with the chevron symbol (>>) to select your study.
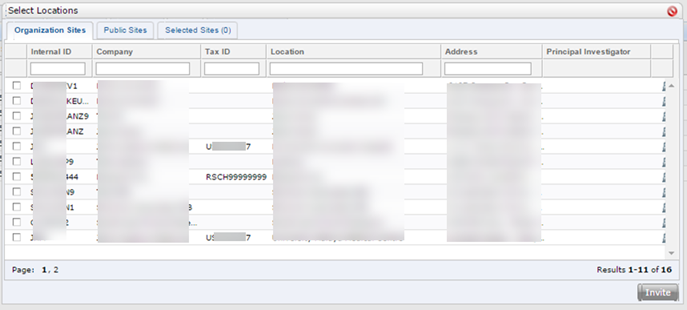
- Navigate to Manage > Sites > Study Sites > Invite tab.
- Click the green plus mark (Invite a Study Location) button.

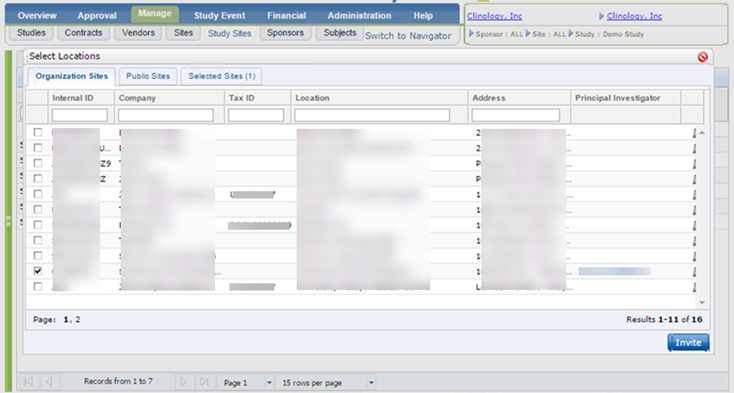
- Use the filters, as required, and then check the box next to the sites you would like to add.
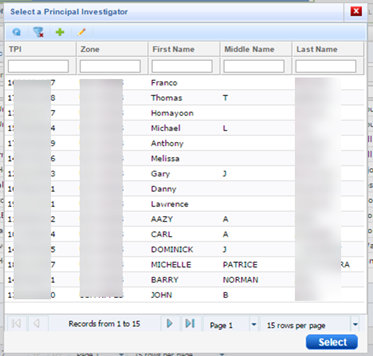
- When the Select a Principal Investigator dialog box displays, select the principal investigator and click the Select button.
- *If your Principal Investigator is not listed, click the Add icon (+) and add them.
- Click the Invite button in the bottom right to invite the sites.
- On the “In Process” tab, double-click in the Site Number field to enter a site number. Press the Enter button to save the site number.
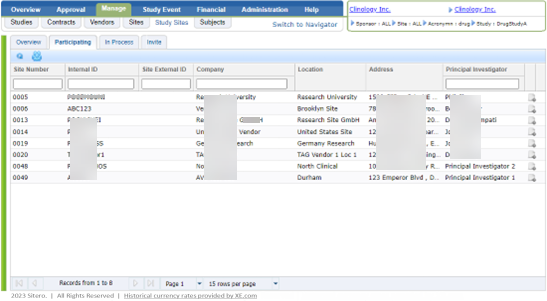
- Once the site number is saved, highlight the row and click the Participating button.

- The system directs you to the Participating tab. Review the site number, company, and other details. When everything is correct, the site is ready to be added as Site Location on a contract.
- If an error was made in entering the site number, the site number may be changed up until the site is associated with a contract or data is loaded into the system associated with that site number. If you have any questions, please contact support@Sitero.com for assistance.
- To enter a complex site, for example, several sites under the same vendor, you may wish to have your project manager assist you with the first few items, to ensure the sites are configured properly.