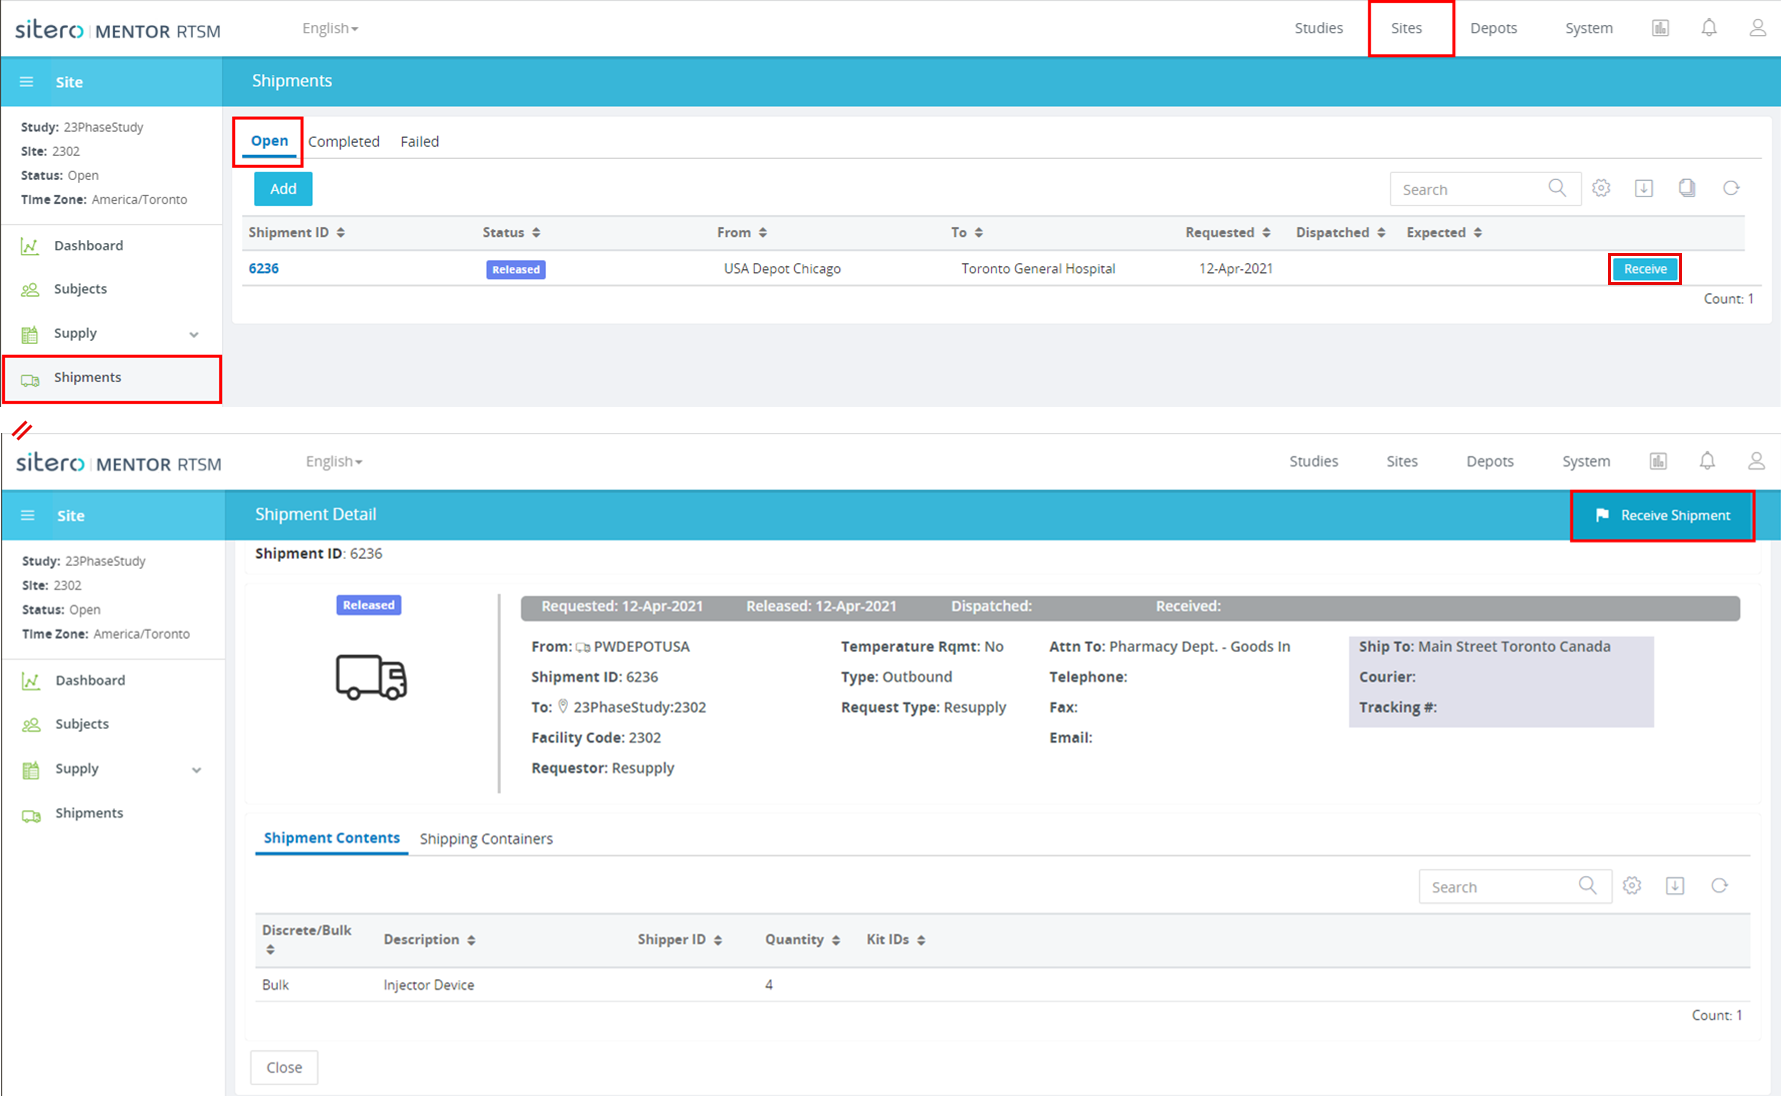
Sites Screen in Mentor RTSM – Overview
Remember!
The content that displays on the Dashboard is dependent on the permissions associated with each User’s Role.
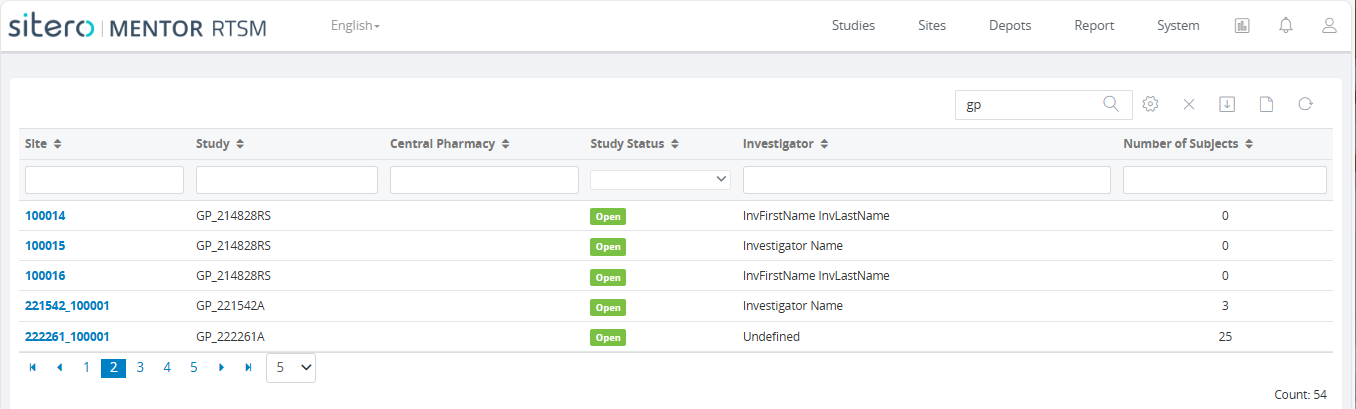
Log in to RTSM and click to select Sites (category) at the top of the screen; use this option to return to the Sites main screen from other locations in this system.
Your system permissions determine the information that displays when you log in.


The main screen displays a grid, listing all sites to which your credentials allow access.
- The functionality in this category allows permissioned users to access appropriate screens for managing and processing Subjects/Patients plus managing Inventory and Shipments.
- Study Sites are configured as locations in which Subjects are Screened, Enrolled, and Followed throughout the course of a Study.
- Sites are configured with a defined location as well as being associated with Facilities/Depots to manage study product/drug.
- Sites can also be grouped and be used to set Cap Limits and custom configuration rules as defined by the Study Protocol.
- Click a link in the Site column to open the Site. Click the link (SiteDashboardTiles-RTSM) to Navigate to additional information.


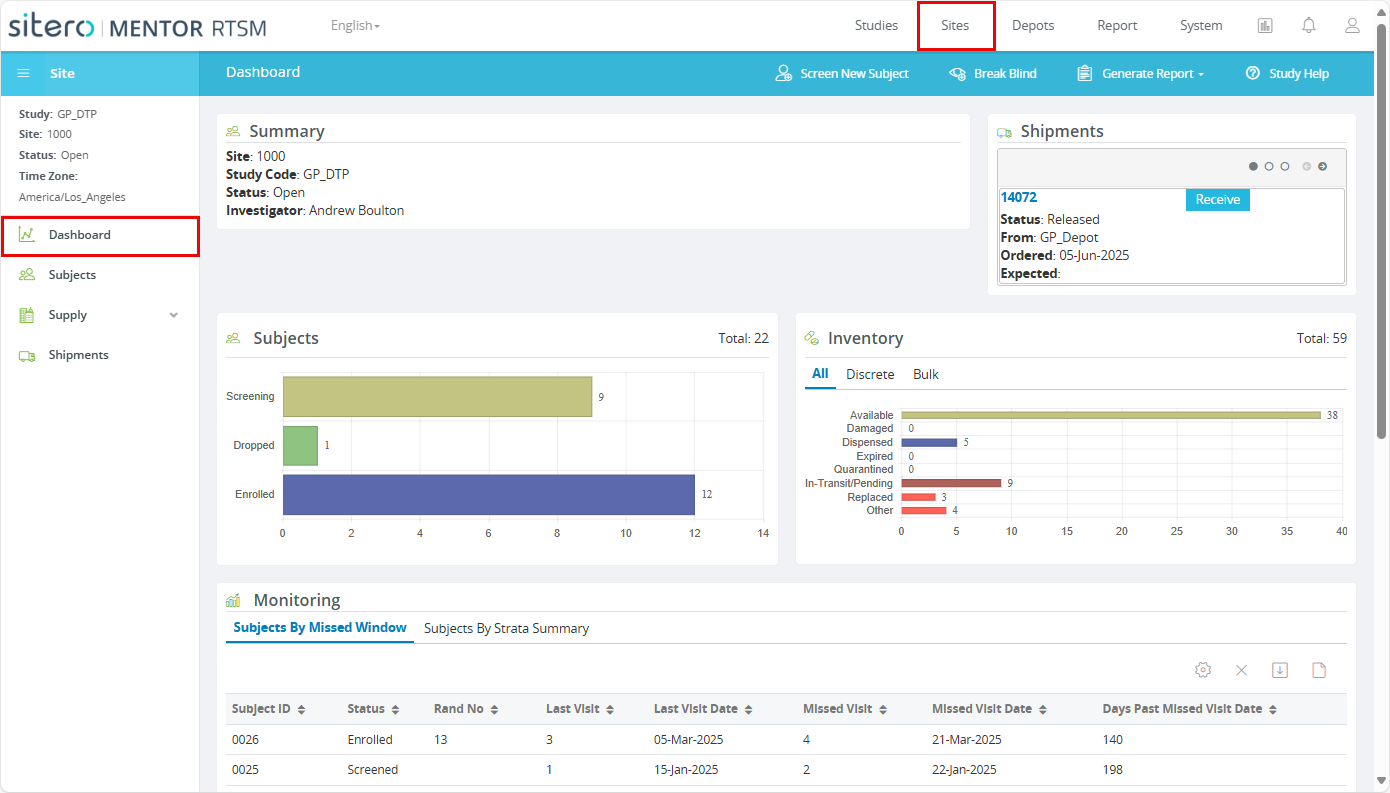
Click an option in the left side menu to select a category; the screen updates to show details for the category.
Options include:
Dashboard – information and functions display in tiles by category
Subjects – grid displays list of Subjects at the selected Site
Supply – click to open this menu (left side tile) and click on a category to view other Review and Processing options
Shipments – a grid displays list of Shipments group in categories (Open, Completed, Failed)
Sites Dashboard
After logging in and selecting a Site, the Dashboard screen displays high level information in tiles on the main screen, buttons at the top of the screen and within tiles (when applicable) and may present some information in tabbed categories.
Subjects
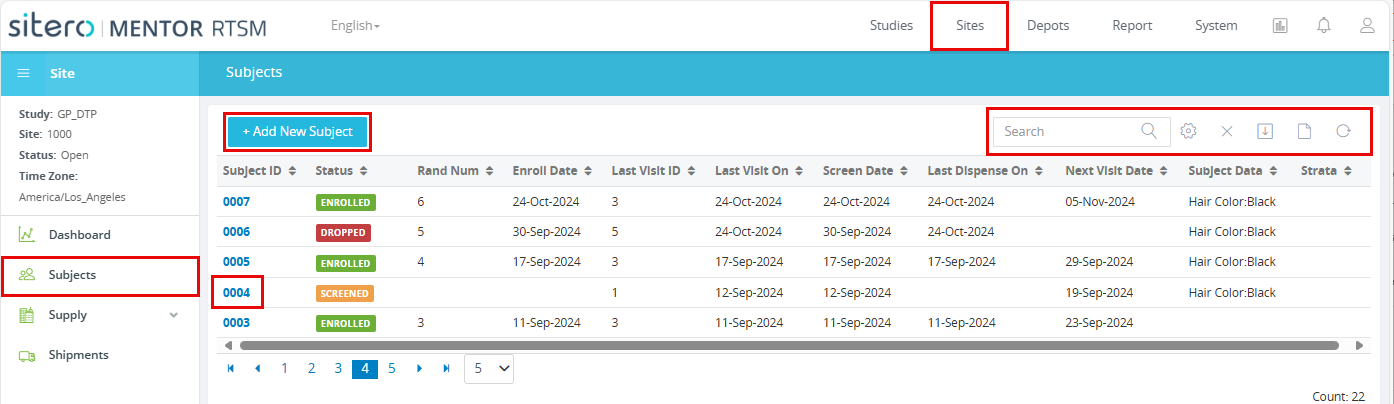
After logging in and selecting a Site, click the Subjects button in the left side menu.
The screen displays a grid of Subject records.
Use the + Add New Subject button to initiate the process to add a Subject to the Site.
Use the Search field and other options (above grid, right side) as needed.
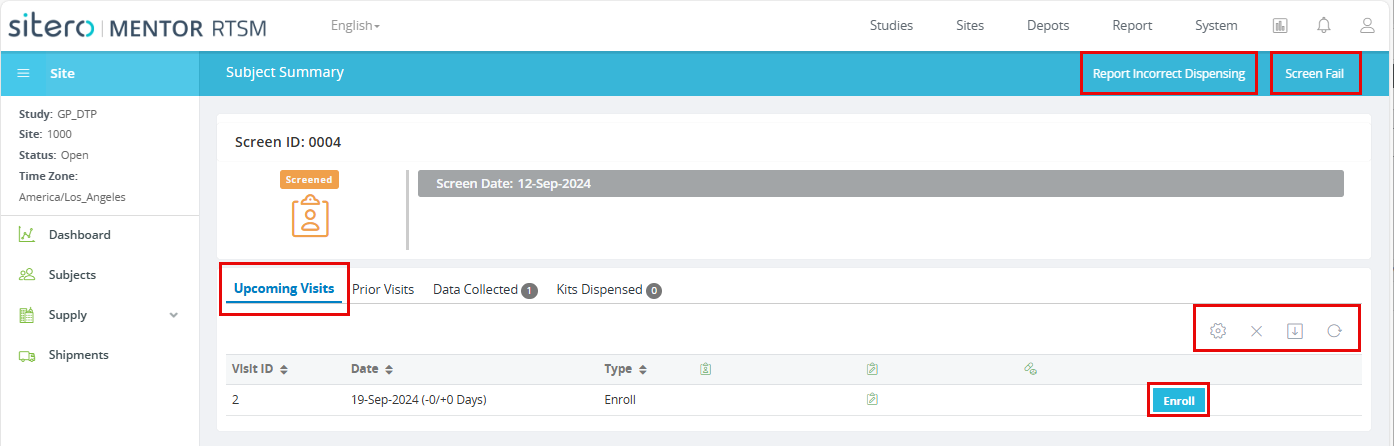
Click a link in the ID column to select a Subject record and display information (on main screen and in category tabs) and other Review and Processing options.
High-level details and options display at the top of the screen.
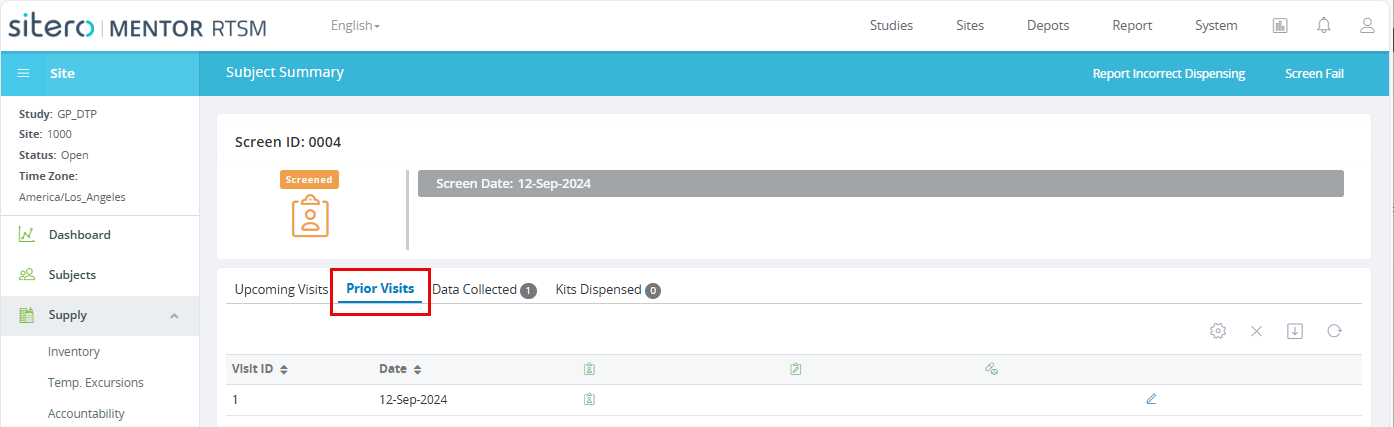
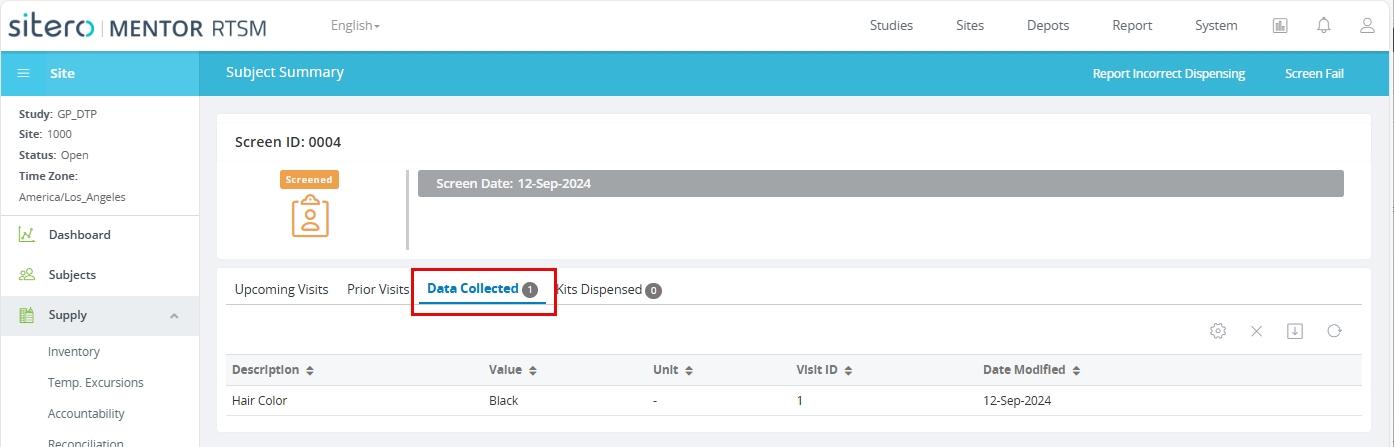
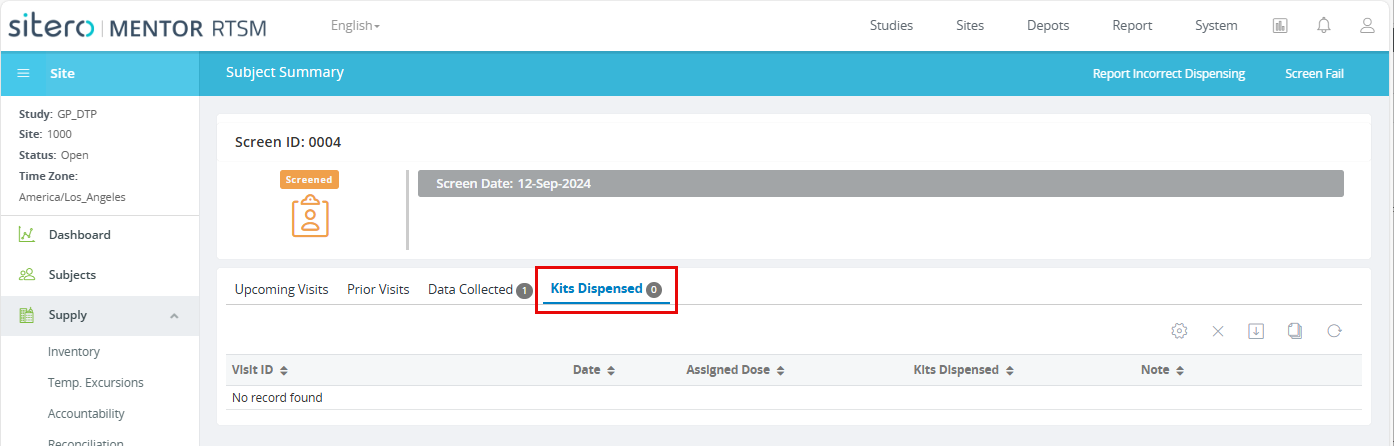
Details for Upcoming and Prior Visits, Data Collected, and Kits Dispensed display in tabbed categories.
Click to select a category to review information and use the buttons and options as needed.
An Edit button (pencil icon) may display in a grid row.
A permissioned user may click this button to initiate the process to edit or update the record.
Supply
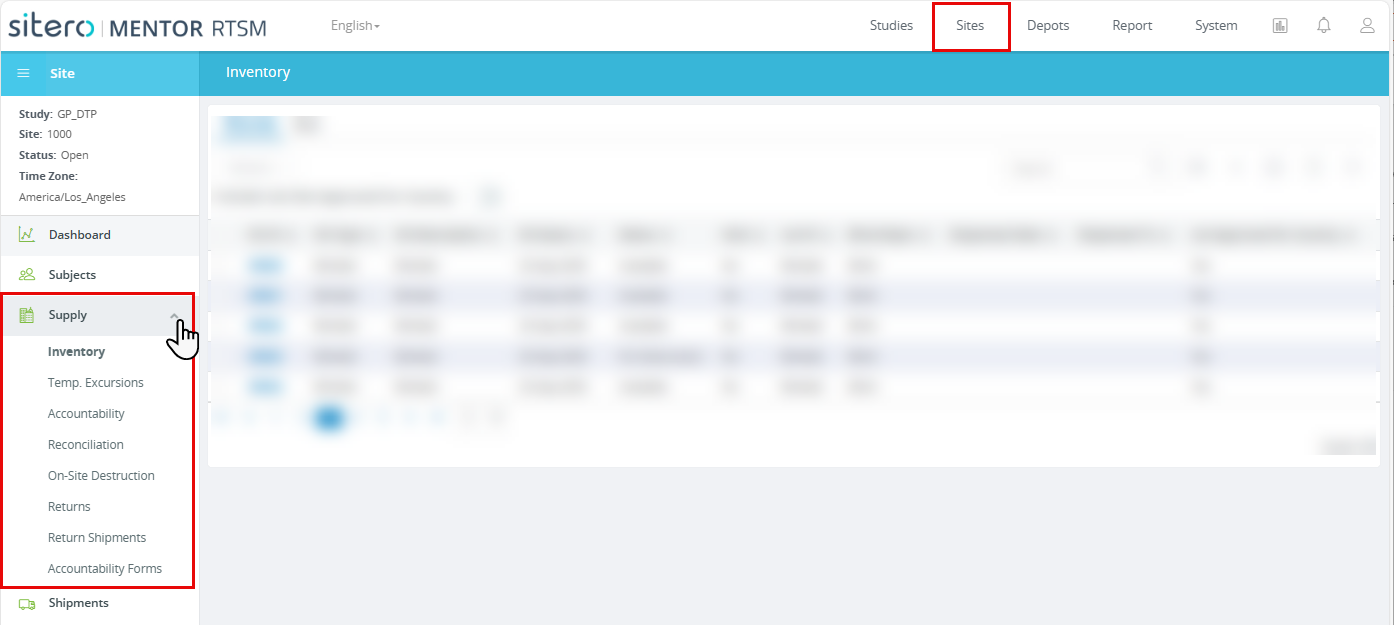
After logging in and selecting a Site, open the Supply menu to display a list of Supply Management options for the Site.
Click on an option to begin.
Scroll down to review details for each of the permission-based options including:
Inventory, Temp. Excursions, Accountability, Reconciliation, On-Site Destruction, Returns, Return Shipments, Accountability Forms.
Inventory
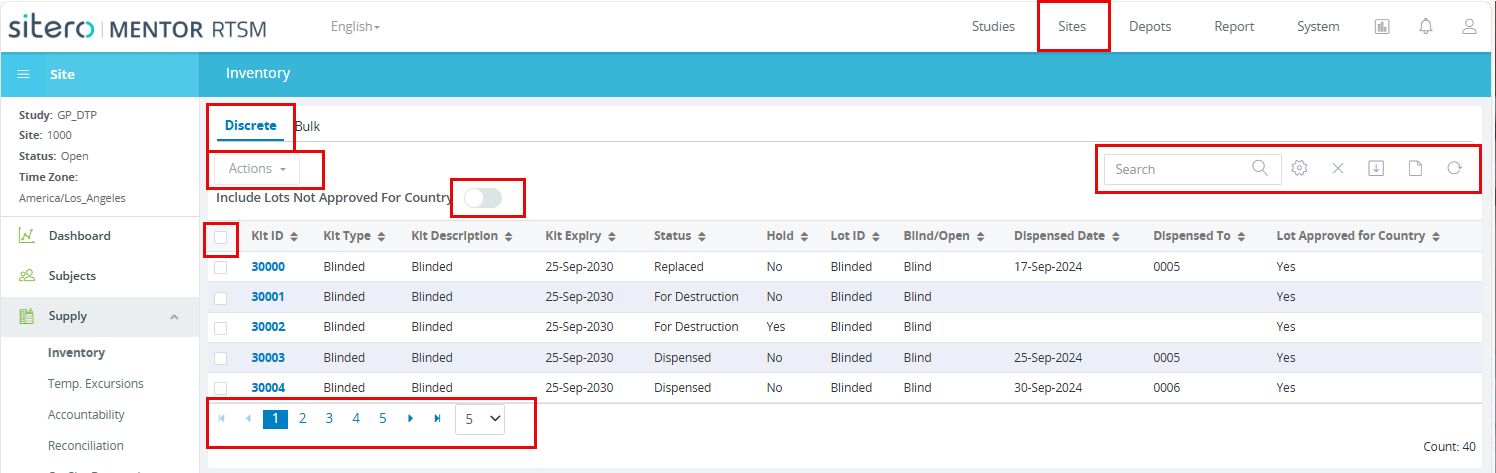
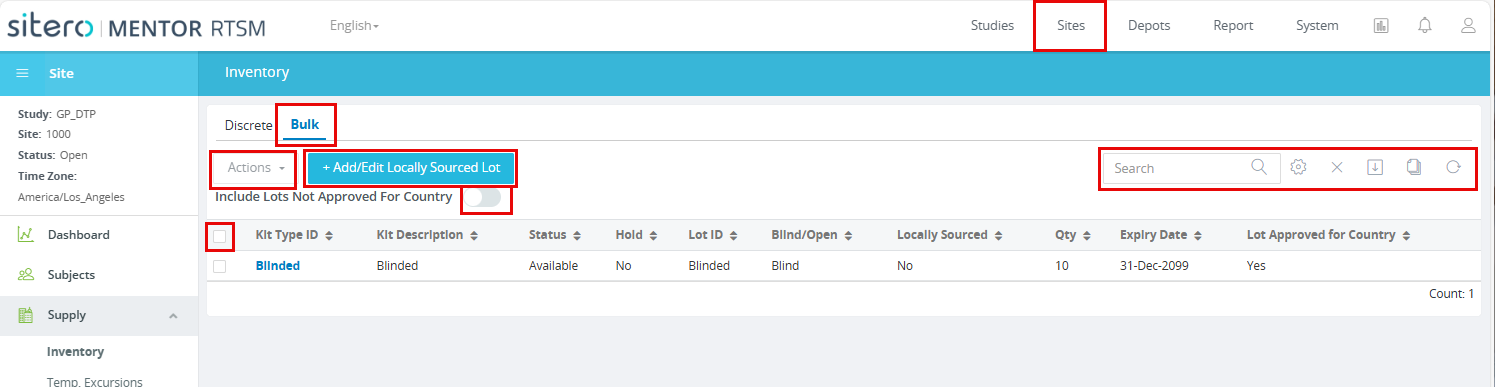
After logging in and selecting a Site, open the Supply menu and click to select Inventory.
Click a tab to display Discrete or Bulk Kit records.
Use the buttons, links, and options to review, add, and manage records.
Temp. Excursions
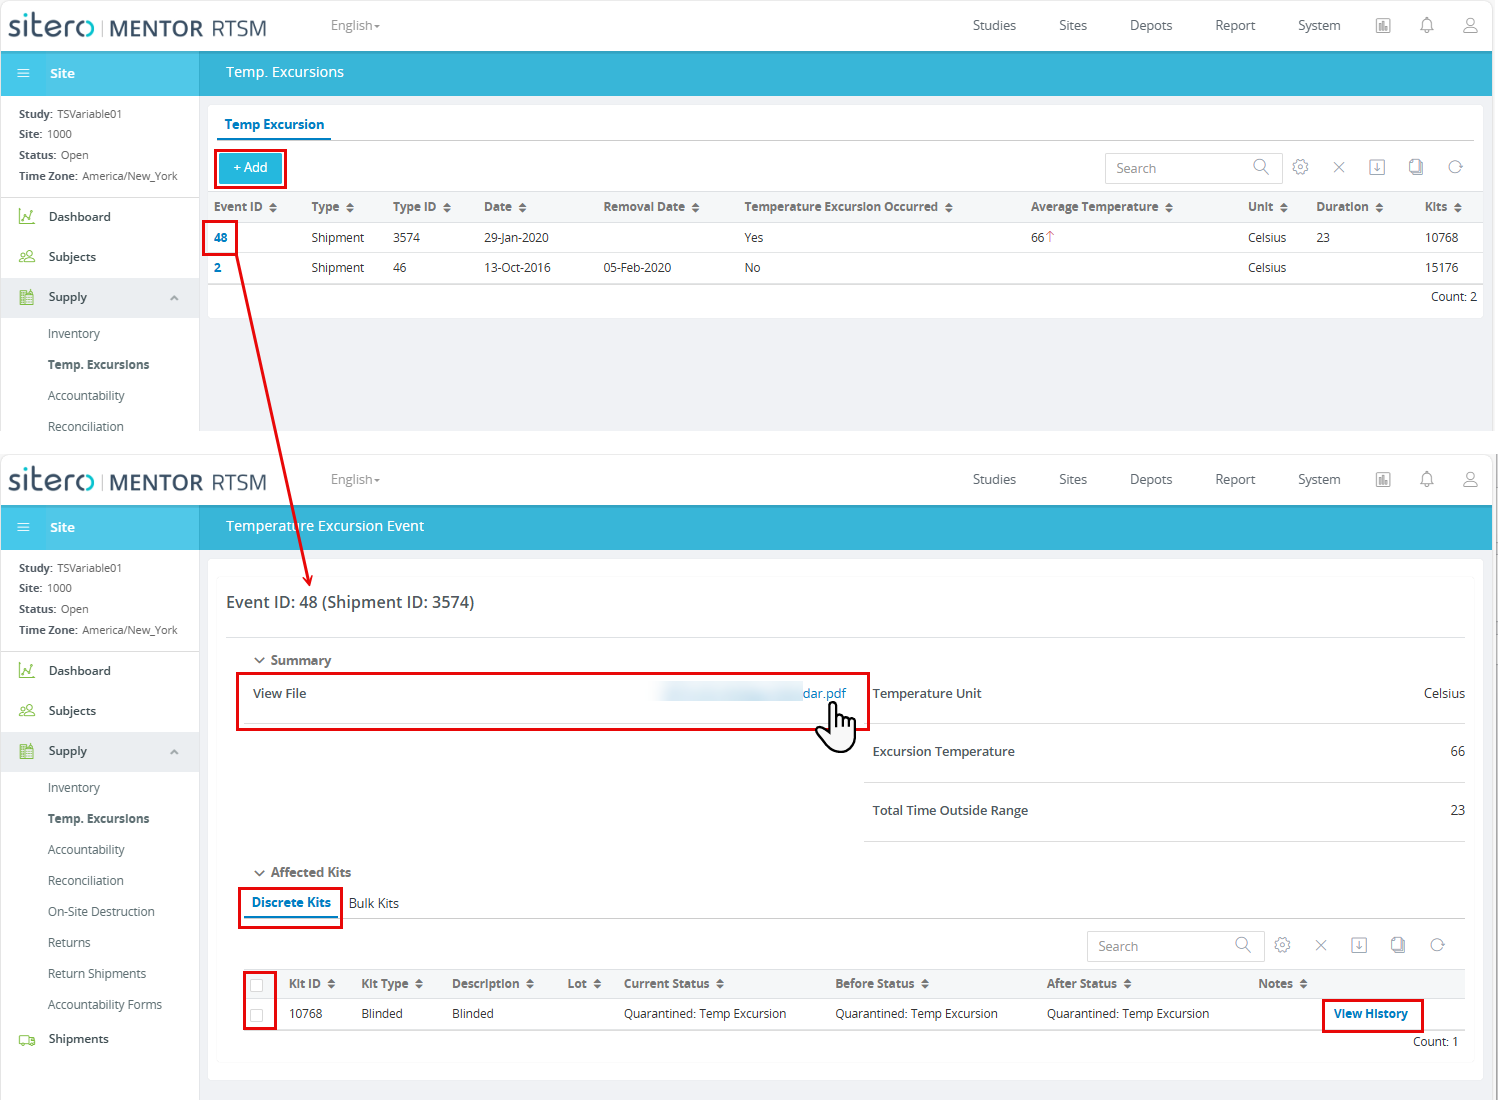
After logging in and selecting a Site, open the Supply menu and click to select Temp. Excursions.
Use the buttons, links, and options to review, add, and manage records.
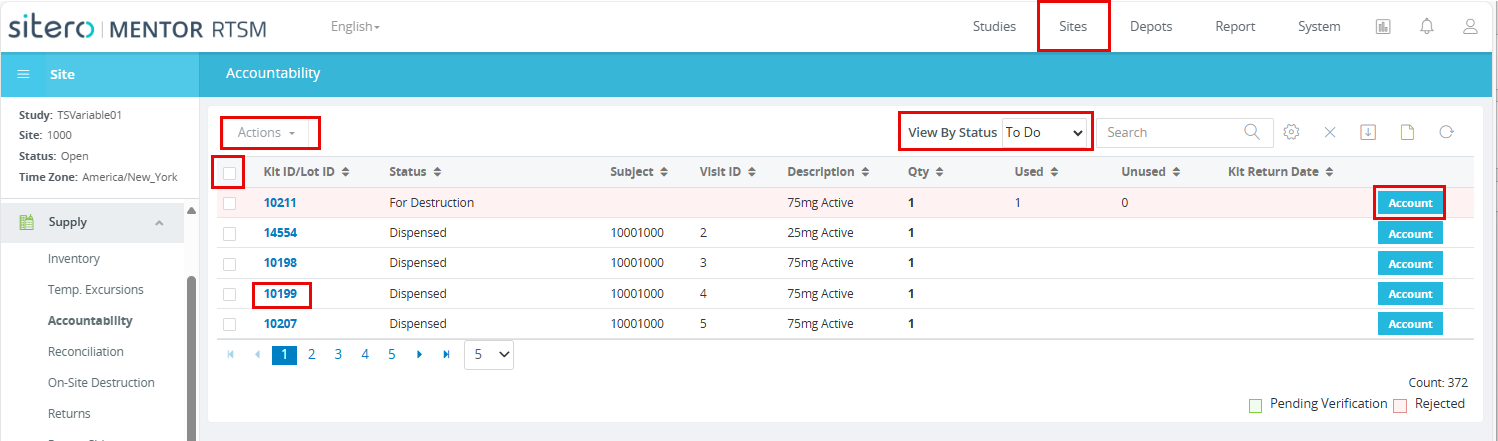
Accountability
After logging in and selecting a Site, open the Supply menu and click to select Accountability.
Use the buttons, links, and options to review and manage records.
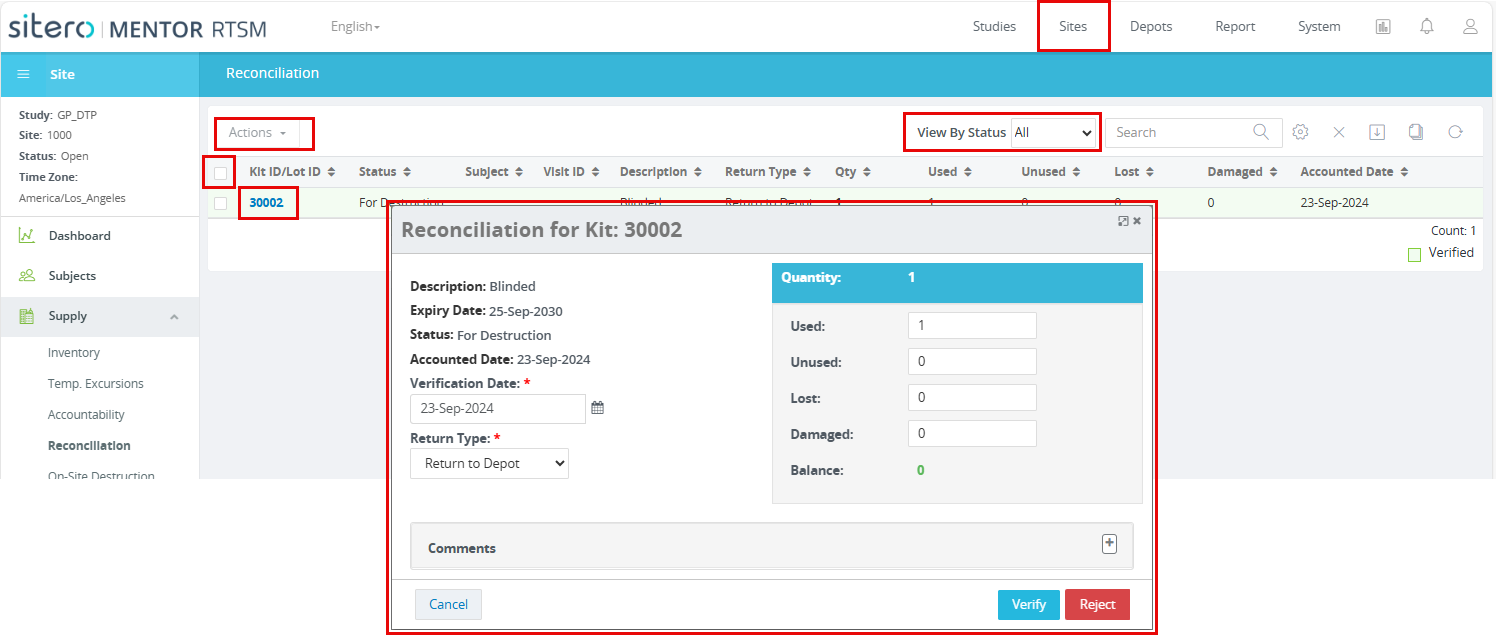
Reconciliation
After logging in and selecting a Site, open the Supply menu and click to select Reconciliation.
Use the buttons, links, and options to review and manage records.
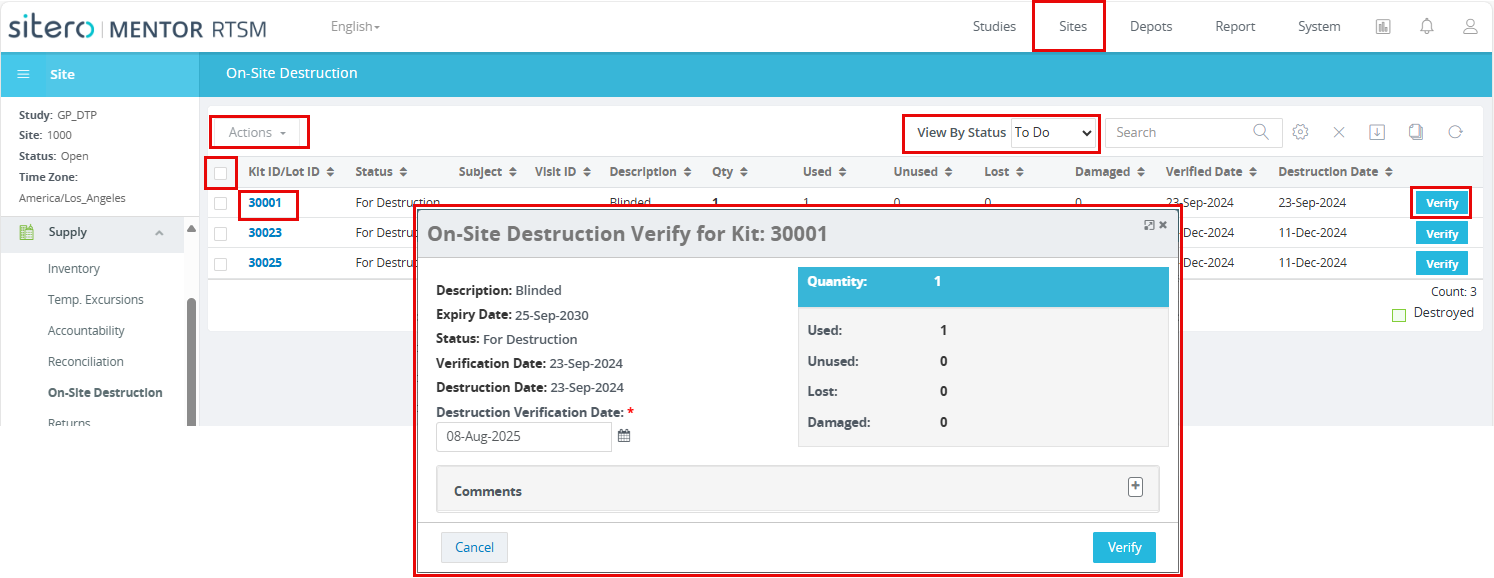
On-Site Descruction
After logging in and selecting a Site, open the Supply menu and click to select On-Site Descruction.
Use the buttons, links, and options to review and manage records.
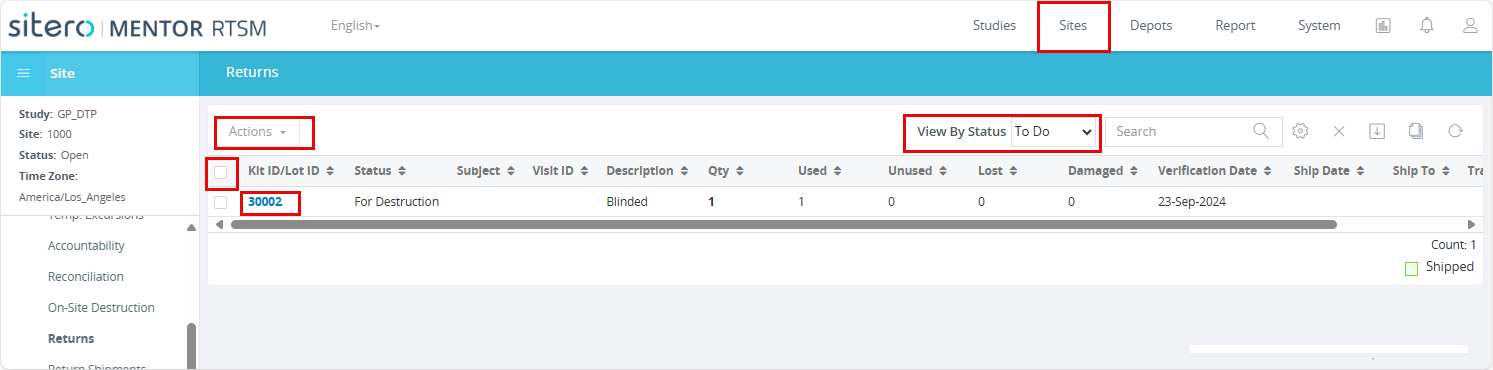
Returns
After logging in and selecting a Site, open the Supply menu and click to select Returns.
Use the buttons, links, and options to review and manage records.
Return Shipments
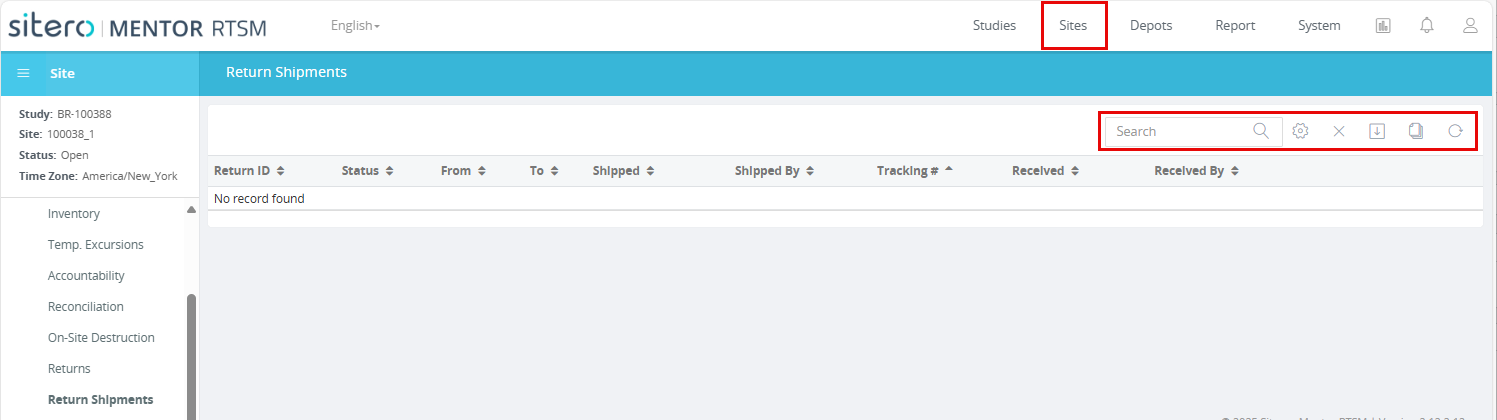
After logging in and selecting a Site, open the Supply menu and click to select Return Shipments.
Use the buttons, links, and options to review and manage records.
Accountability Forms
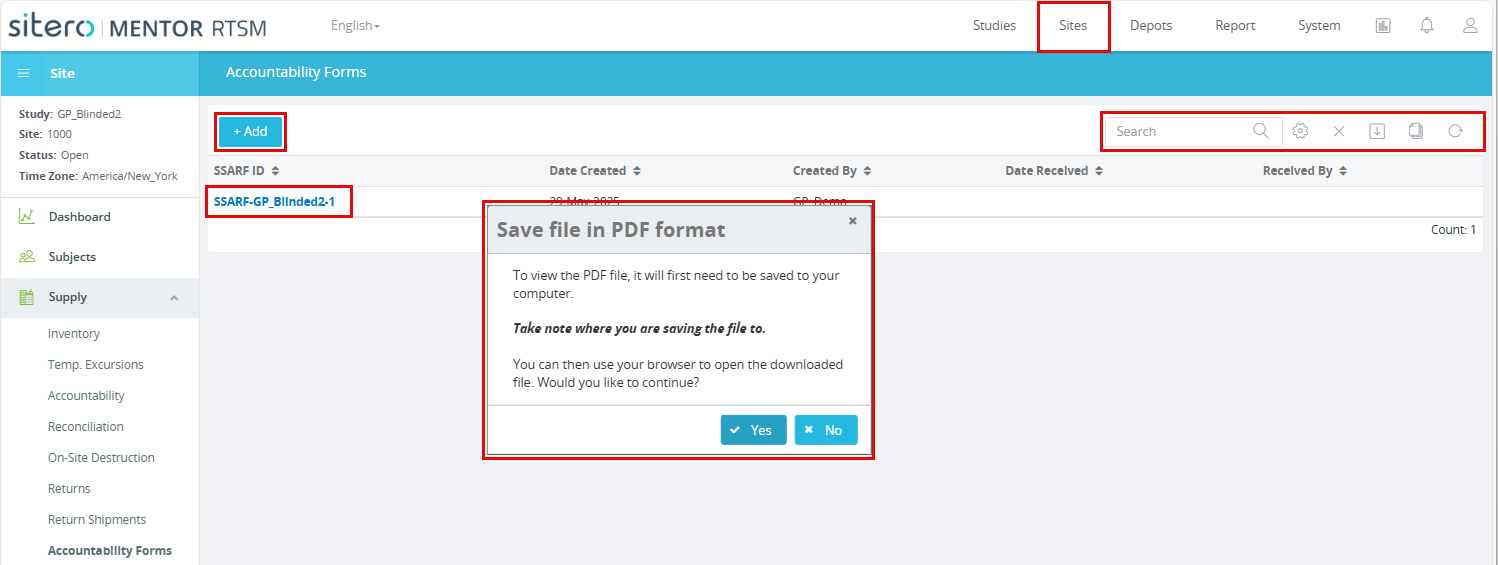
After logging in and selecting a Site, open the Supply menu and click to select Accountability Forms.
Use the buttons, links, and options to review, add, and manage records.
Shipments
After logging in and selecting a Site, open the Shipments button in the left side menu.
The screen displays a grid of Shipment records.
Use the Add button to initiate the process to add a new record.
Click a link in the ID column to select a Shipment record and display information (on main screen and in category tabs) and other Review and Processing options.
Use the Search field and other options (above grid, right side) as needed.